Fit to be Dyed: Easter Egg Decorating Fun at Home
Decorating Easter eggs turned out to be the perfect stay-at-home Easter activity for me this year. I went a little crazy, decorating 52 eggs total! Needless to say, my parents and I will be eating hard-boiled eggs for awhile! My mom also used several of them in her seven layer salad recipe, a favorite Easter dish of mine.
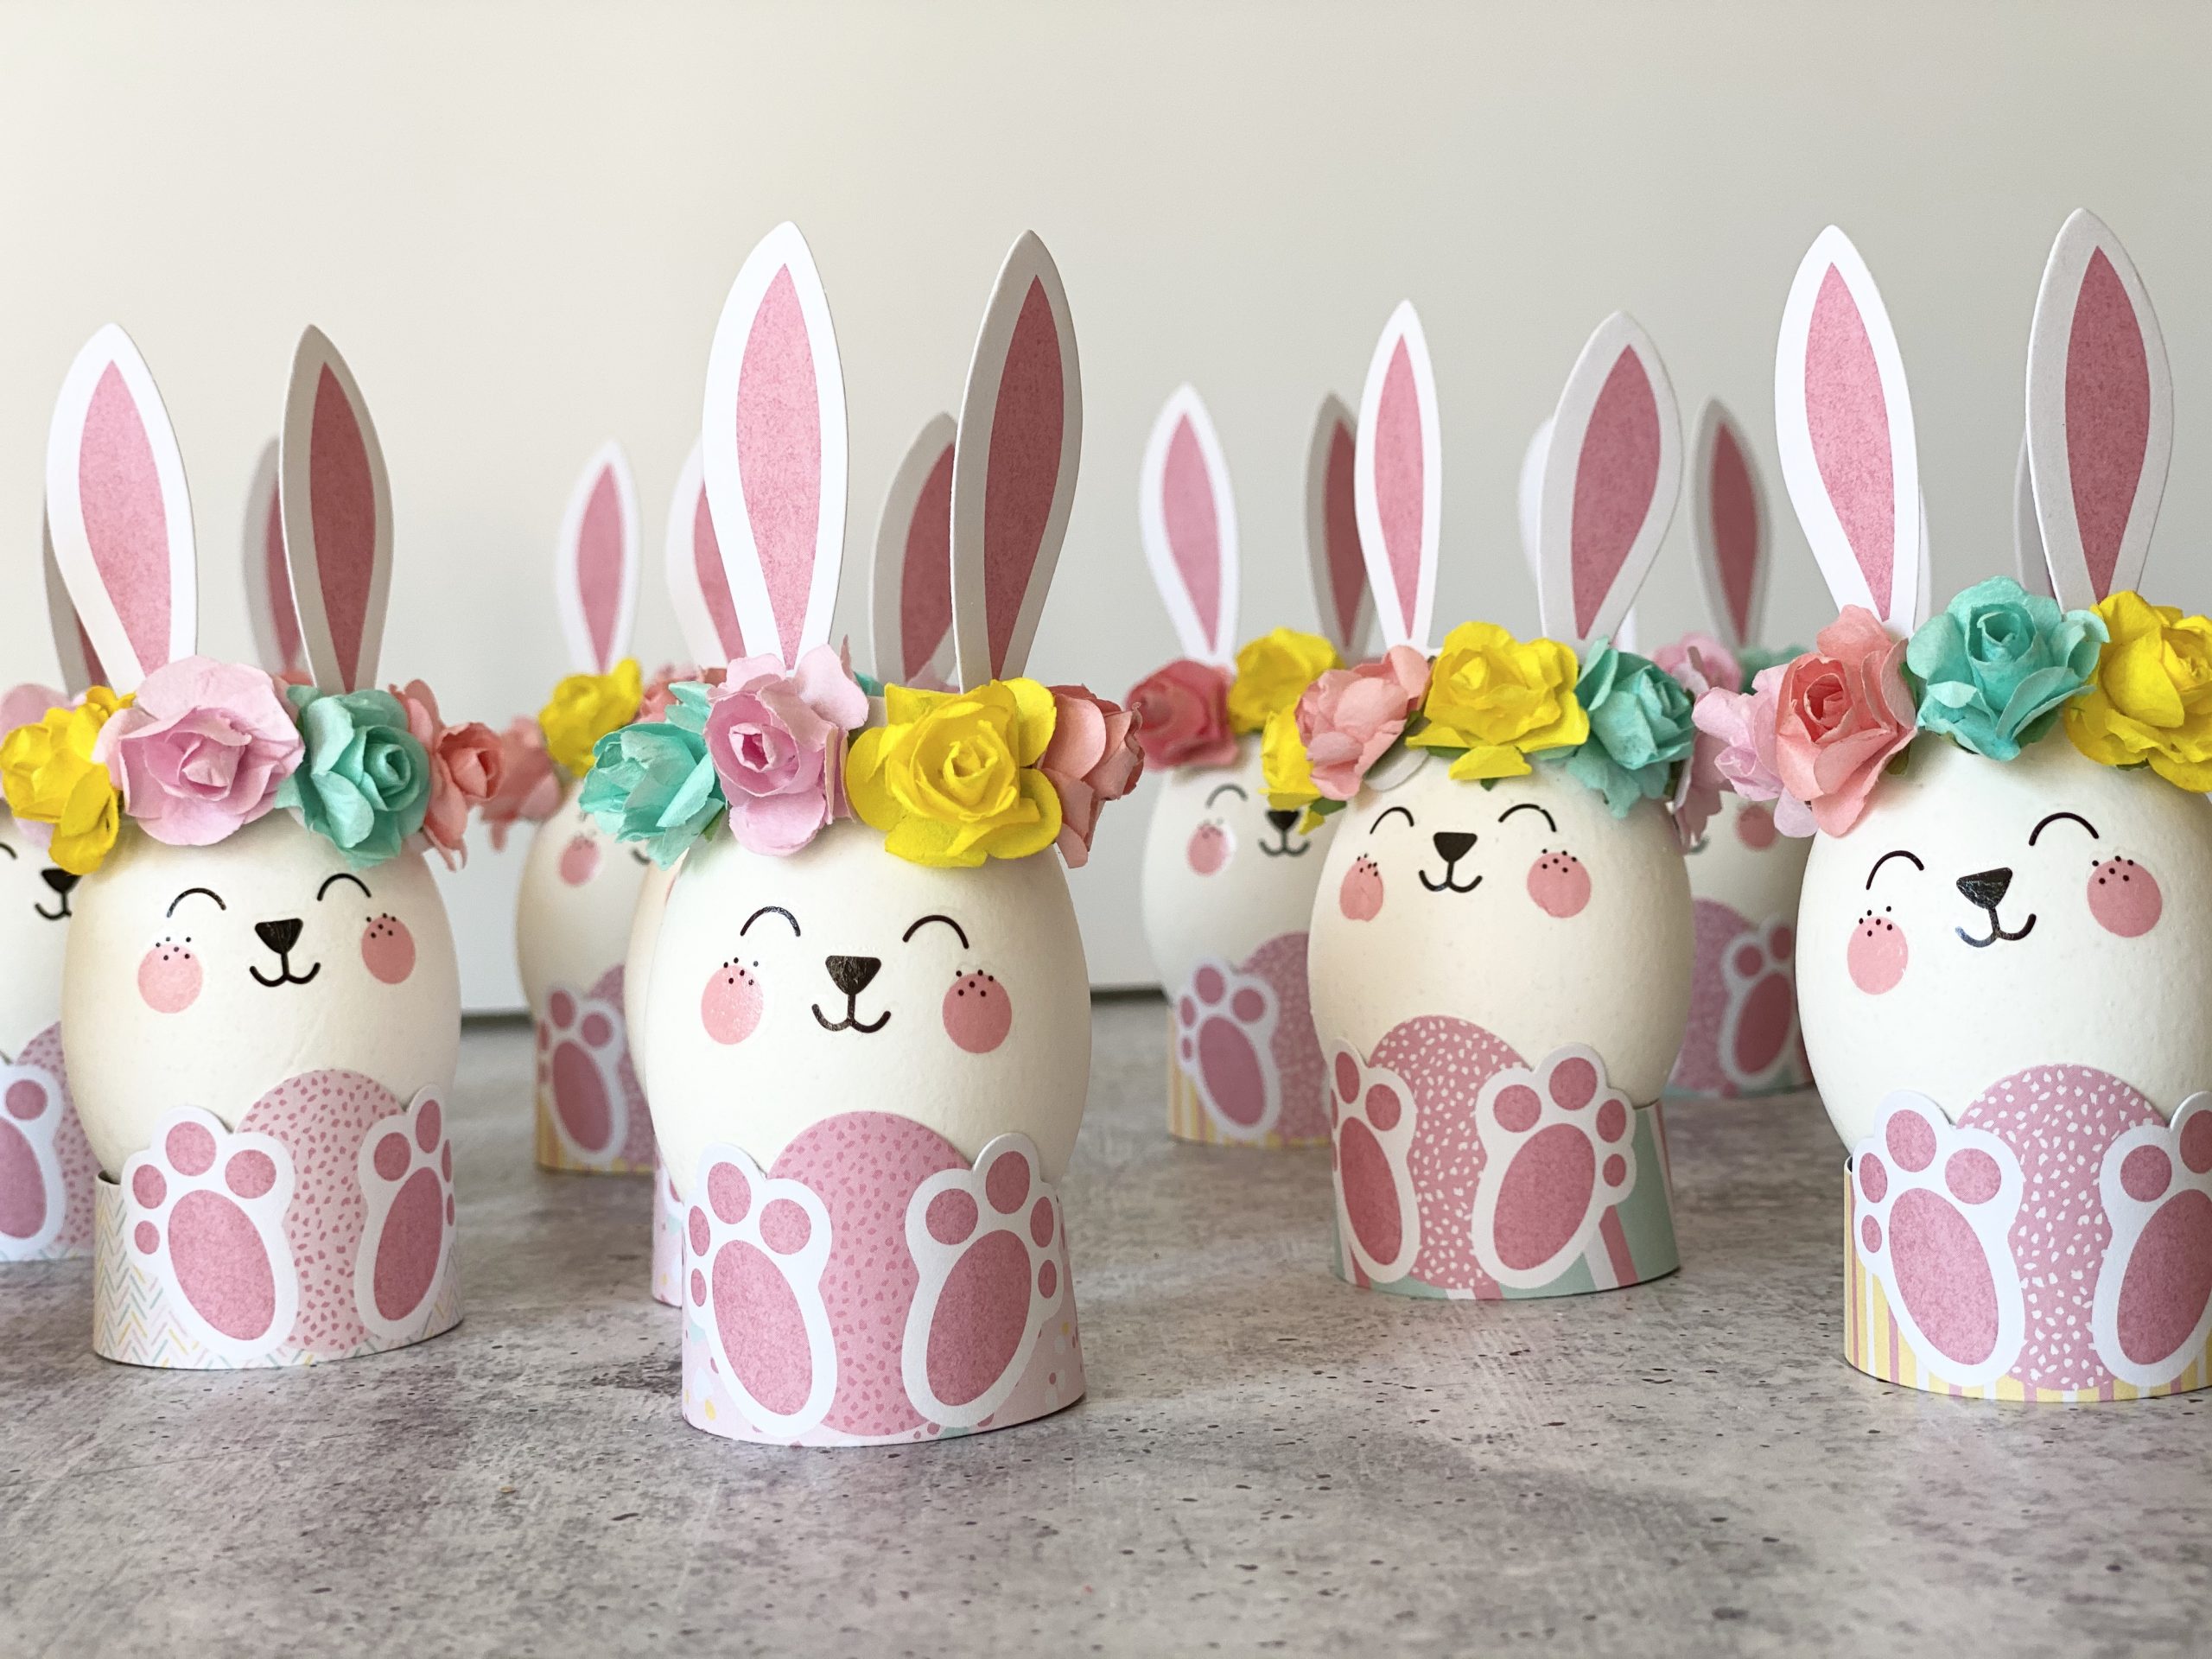
This year I used a Paas Deluxe egg decorating kit ordered online from Target that contained nine different colors of dye, and an American Crafts Easter Rabbit egg decorating kit shipped from Paper Source that reminded me so much of the cute Unicorn and Easter Animals kits I got from them in 2018 and 2019. I also used the Eggmazing egg decorator I bought in 2018 on a dozen of the eggs. I did the bulk of my decorating and dyeing the day before Easter, but decorated the twelve flower crown bunny eggs on Good Friday, and colored the Eggmazing eggs on Easter Sunday. The bunny and Eggmazing eggs used plain white hard-boiled eggs so they were quick and easy!
Other than the two kits, everything else used for decorating was stuff I already had on hand. One positive about the stay-at-home order is that I am using up supplies I already have rather than buying new ones. I went through my craft stash and found lots of stickers and washi tape, plus vintage ribbons my mom gave me while she was getting rid of things last year. Not all of my stickers were Easter themed, but I tried to pick some fun designs that worked for spring. I used several stickers from my Pipsticks monthly sticker subscription because they tend to be tiny and really sticky, so they adhere really well to eggs’ surfaces.
Flower Crown Cuties
The Easter Rabbit egg decorating kit was cute and quick! The faces were the trickiest part, because they are rub-ons and I had to work carefully and patiently on the rounded surface to transfer the design slowly with the wooden popsicle stick without messing up the rabbits’ features. After making a few eggs, I decided to batch the steps, assembling all the ring stands and ears first, then transferring the faces on, and finally (my favorite part!) creating the flower crowns. The flowers have super sticky adhesive dots on the back, so I stuck them half on the paper ring of ears and half on the egg so they stayed in place. Every time I open my fridge to take one out to eat, I have to smile. They’re so hoppy! They even have little fluffy cottontails in the back. The American Crafts egg decorating kits designed for Paper Source I’ve used these past three years have so many nice quality details.


DIY and Dye
The nine egg dye colors in this year’s kit were really pretty and bright. Usually I’m impatient waiting for dyed eggs to dry, but I enjoyed a nice lunch with my parents after dyeing them, so they were dry by the time I was ready to decorate. The eggs decorated with ribbons were really quick to do, using a Scotch adhesive roller I use for paper crafting to adhere them to the eggs. A few eggs were wrapped in washi tape, and for the two gnome eggs (how cute are they!), I cut the individual gnomes out of a gnome washi tape design before sticking them to the egg. I used a white crayon to write the names on the Mom, Dad, Denise and Flurry eggs before dyeing. The name eggs are an annual tradition. I decided to make Flurry an egg again this year since the first anniversary of her passing was the day before Easter; I am glad I had so many Easter craft projects to distract me. I think she would have liked her pink egg with white cat stickers! I even included a sticker of a cat in heaven with angel wings on it, plus a sticker that said “I wish I could text my cat.” Some of my other favorite designs were a coffee themed egg (I love coffee!), a yellow egg with large dimensional daisy stickers, and an egg covered with succulent stickers. Mom decorated several eggs with me. I love the sheep and butterflies eggs she made, the pink egg with the big fuzzy bunny sticker, and the eggs with little rhinestones all over them.


Eggmazing Stripes
How eggmazing is the Eggmazing egg decorator! This little spin art gadget makes striped Easter eggs a snap. You touch the tip of the marker to the egg as it’s spinning and it creates a stripe around the egg. You can continue moving the marker to the right or left of the stripe to make thicker stripes, or touch and release the marker quickly to make partial stripes that don’t go all the way around the egg. You can also pull the marker across the surface of the egg at different angles to create a crisscross pattern. The gadget works best with extra large eggs. Some of my eggs were on the small side and tipped up when I moved the marker towards the ends of the eggs, a problem I didn’t have when I used bigger eggs in the Eggmazing two years ago.


As I was putting the finishing touches on this post, an adorable large rabbit hopped across my yard, I kid you not! He looked just like the Easter bunny! I hope small moments like that made your Easter at home enjoyable even though large in-person events with family and church gatherings weren’t possible this year. Thank goodness technology allows us to stay connected. What has been a blessing in disguise for you this April? Leave a comment below. Wishing you a healthy spring with moments of comfort and peace.
Related Posts

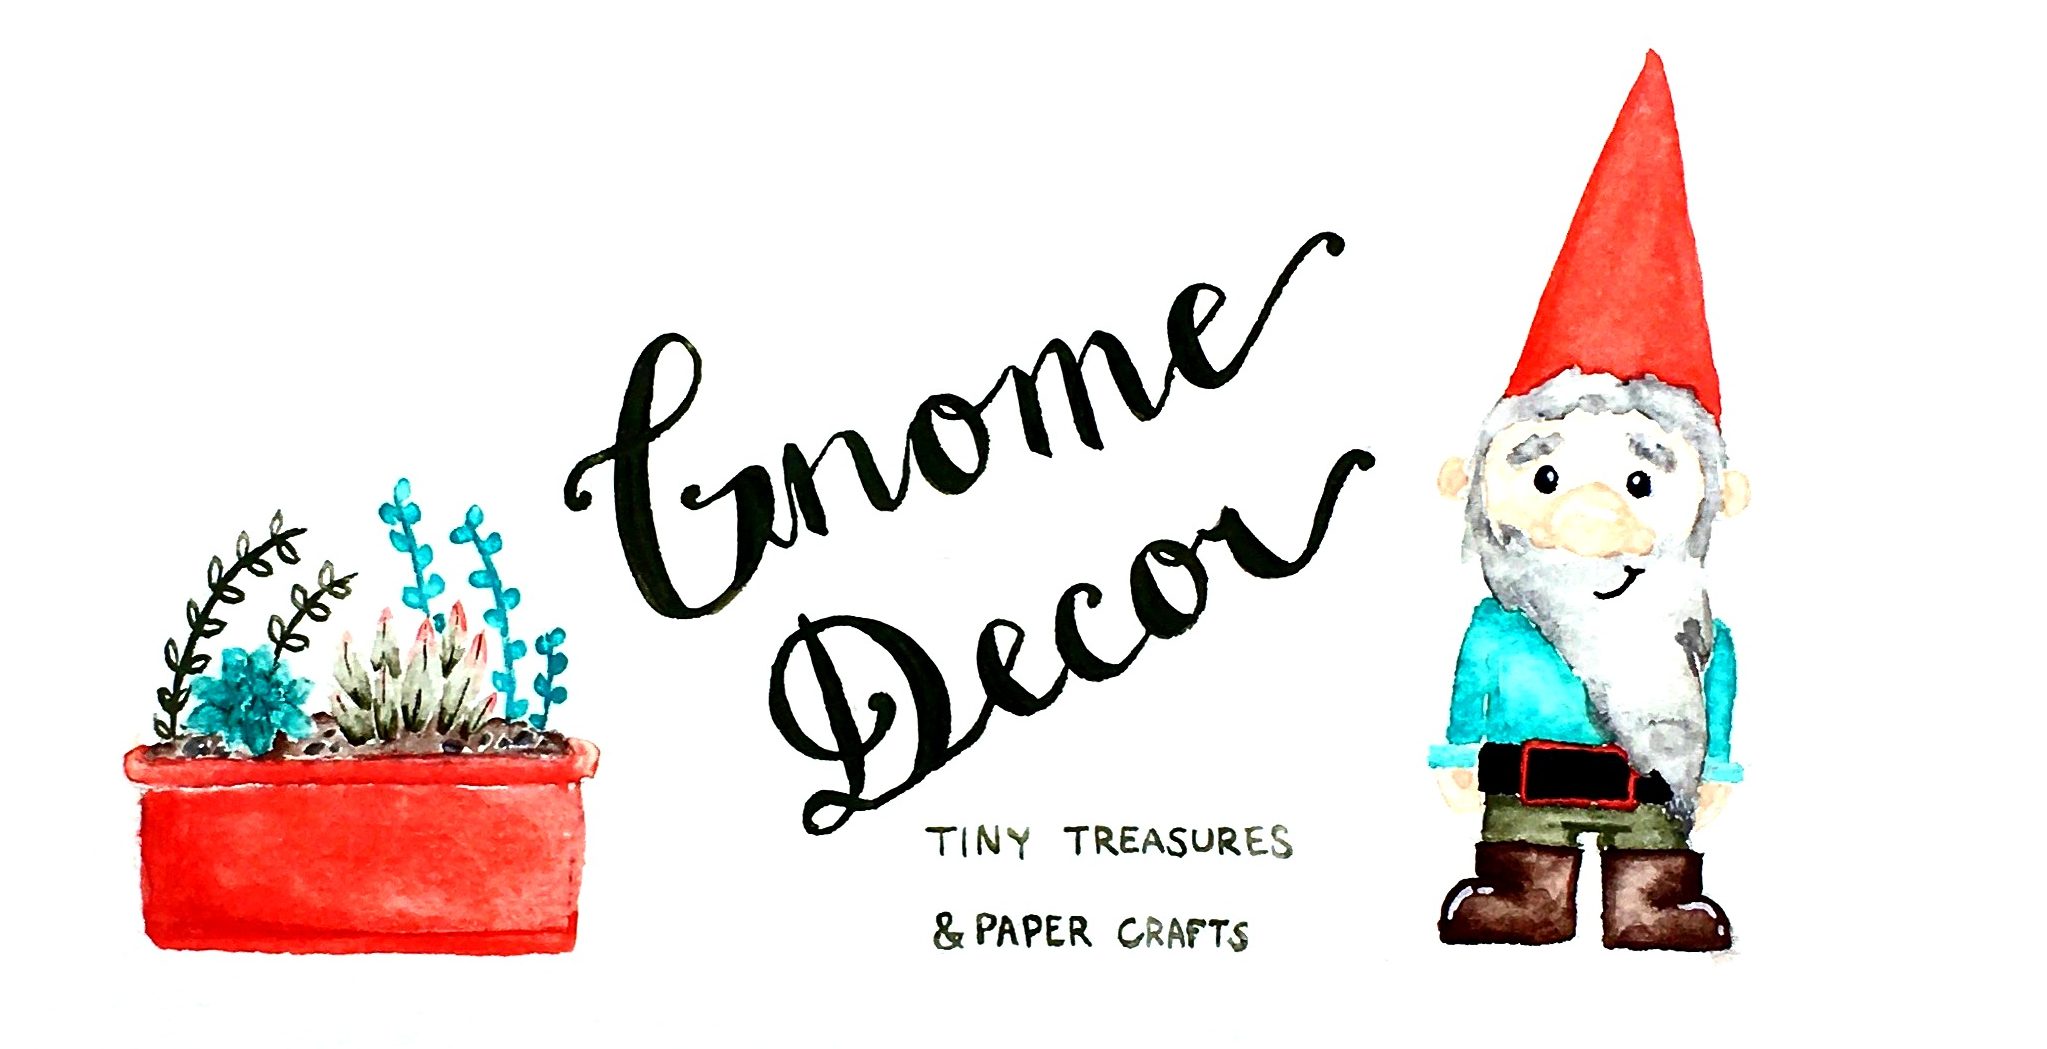
Easter Eggs Like Gnome Other
Spring is in full swing and Easter is already upon us! Every year I look…
17 April, 2020
From Cute Critters to Flashy Foil: Easy Easter Egg Decorating Ideas
Happy Spring! Today I’m sharing my Easter eggs I made this year in…
17 April, 2020
Marilee | 18th Apr 20
I enjoy watching you dye and decorate the eggs each year. You always come up with cute and unique decorating ideas that make me smile too. My blessing this April is that all of our family is healthy and safe and we were able to celebrate Easter. 🐇
Mary Kay G. | 19th Apr 20
Beautiful eggs and “egg-cellent” photos! Love that you used fun egg-decorating kits and also did some old-school dyeing and decorating.
Megan | 19th Apr 20
Your eggs are so cute and fun! Thank you for sharing the blog with details and your creativity. It is wonderful that a bunny visited you as well.