Creative, Colorful Chaos: Four Eggciting Easter Egg Decorating Projects
Decorating Easter eggs is a tradition I’ve carried on from childhood into adulthood. I dye and decorate Easter eggs nearly every year. Each year I try at least one new kit or technique. In the past I’ve used stickers, adhesive gems, washi tape, small fabric flowers, and rubber bands to decorate eggs, but this year I streamlined my supplies to four kits: the Unicorn Easter Egg Kit by American Crafts, the Galaxy Egg Decorating Kit by Easter Unlimited, the Easter Under the Sea Egg Decorating Kit by Spritz, and the Eggmazing Egg Decorator. Kits are perfect if you don’t want to gather a lot of individual supplies!
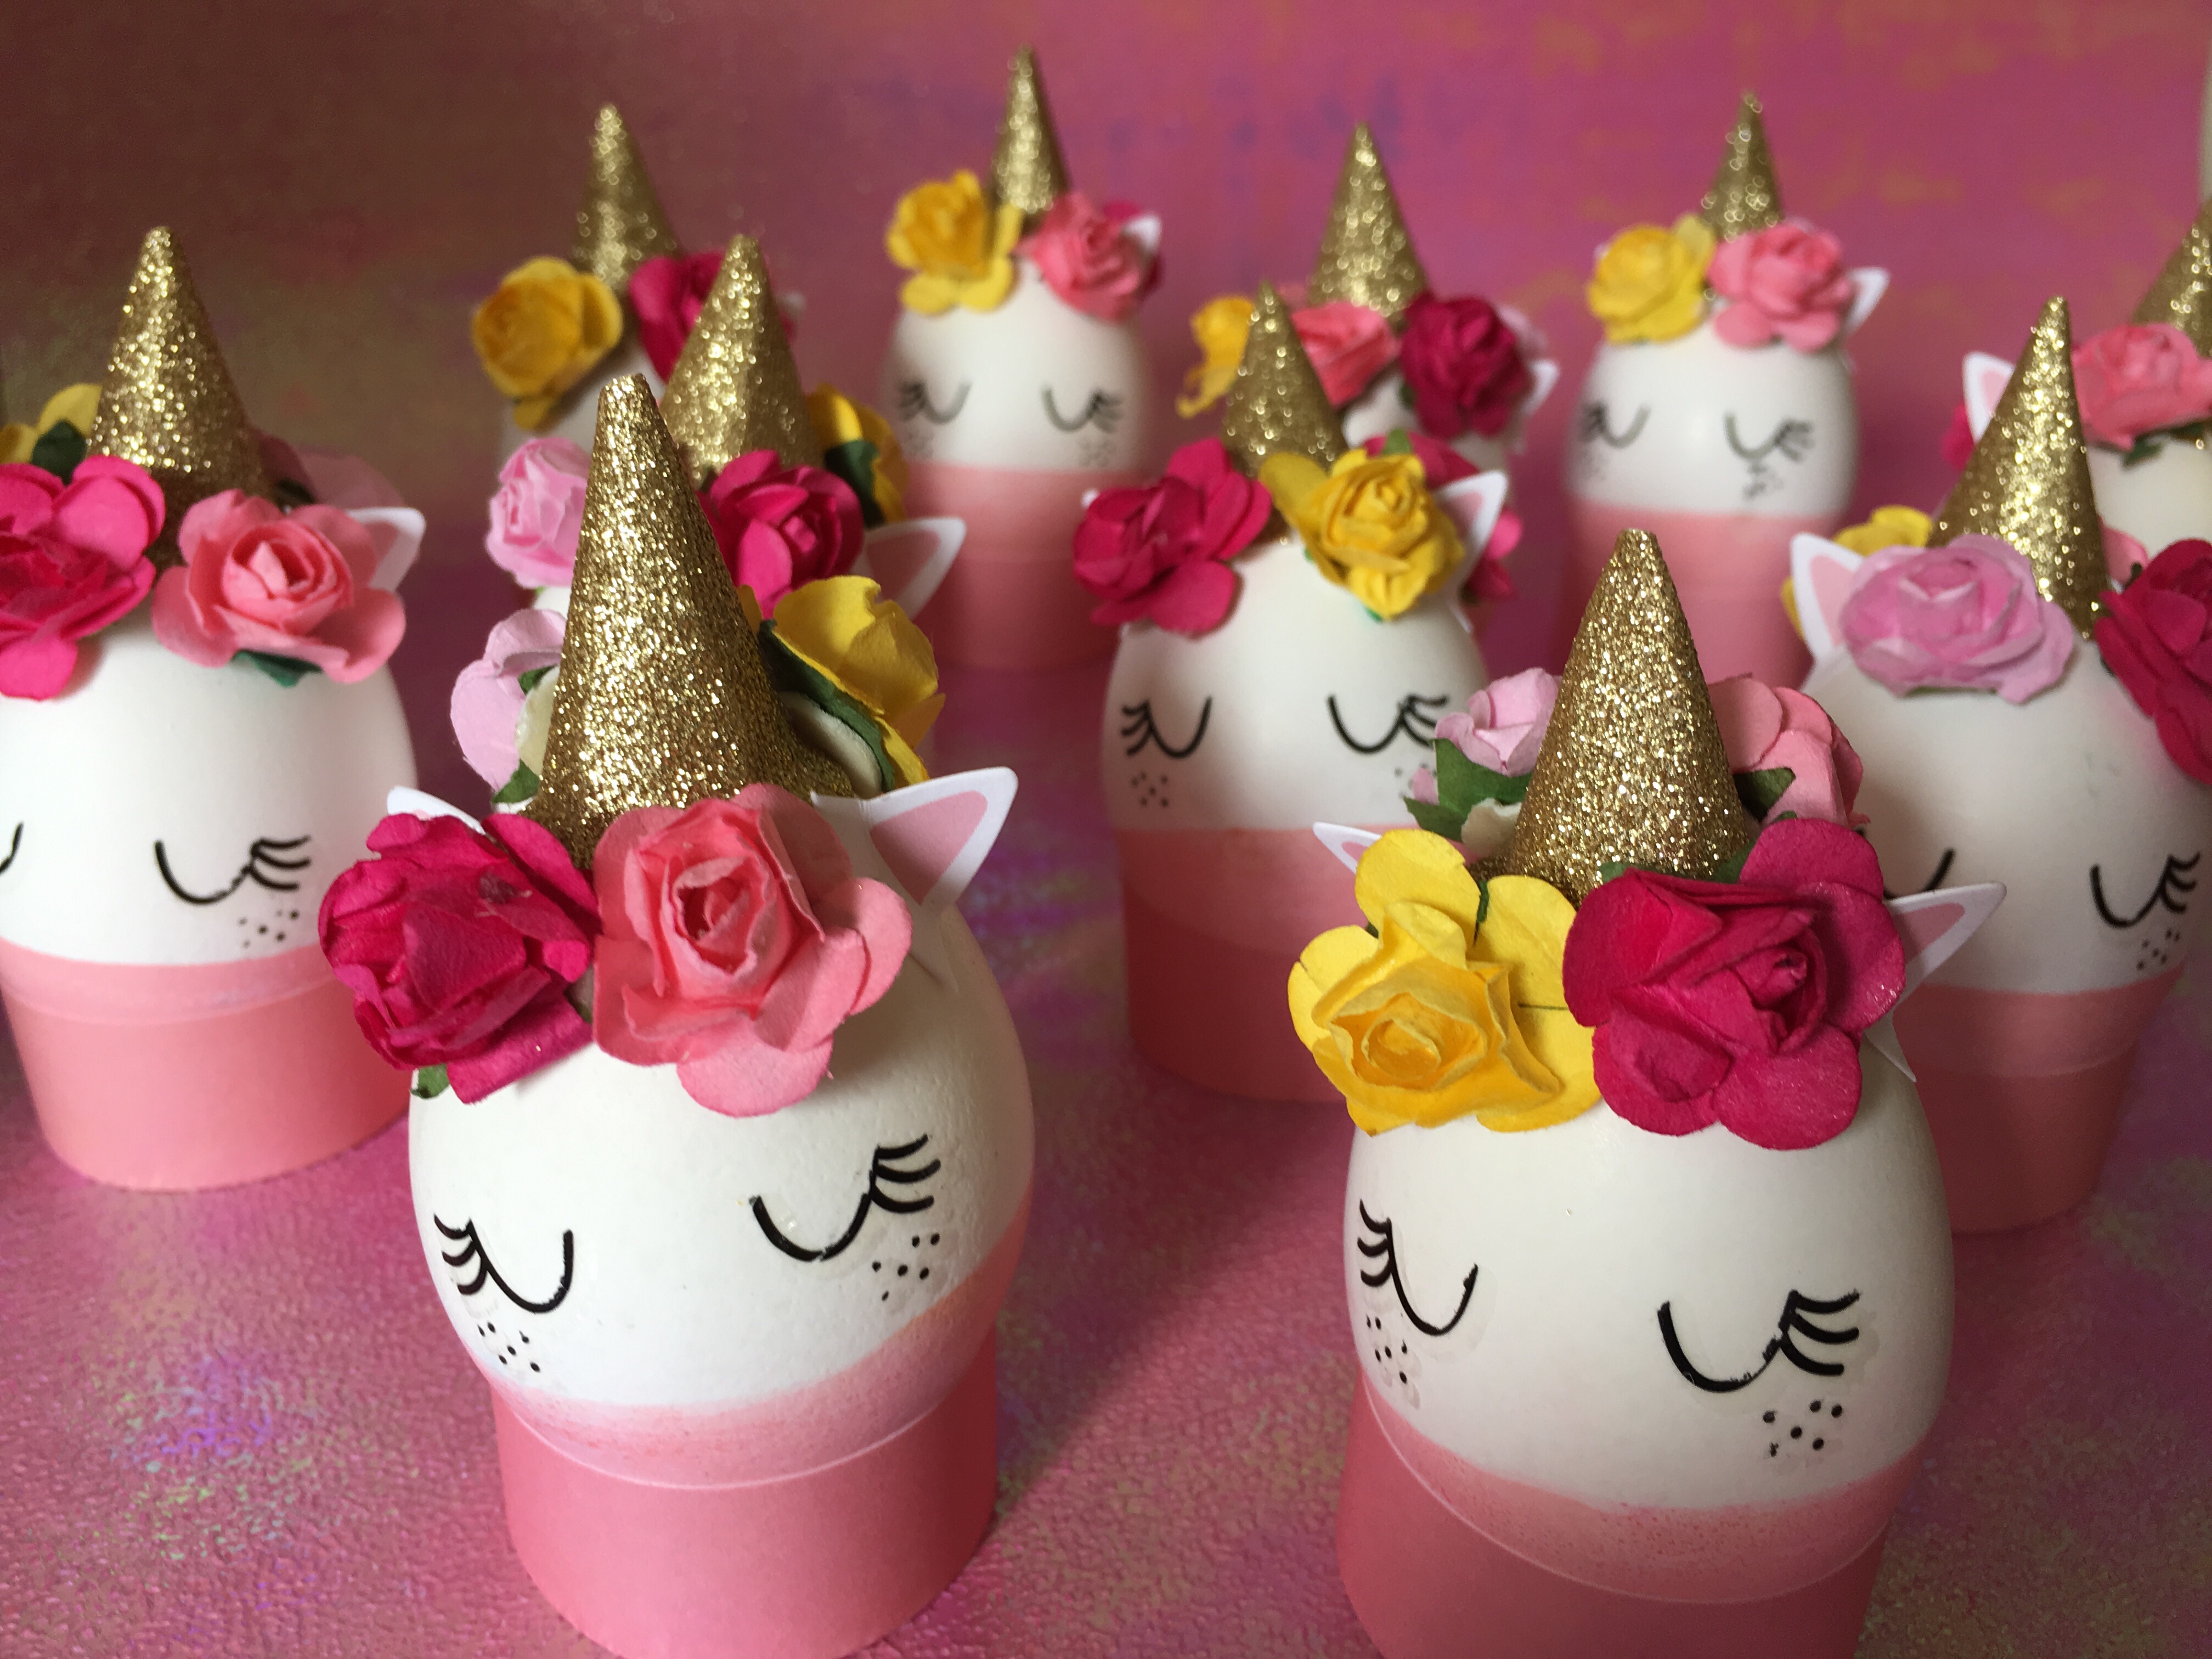
Making the sweet sleepy unicorn Easter eggs was a joint project with my friend Wendie, a mega talented card maker and knitter who is always up for crafting. You can check out her incredible artwork on her blog. The Unicorn Easter Egg Kit contained all the cutest embellishments needed to make adorable unicorn eggs including rub-on eyes, pretty paper flowers in three shades of pink plus yellow, glittery gold paper sticker horns, and pink and white ears that look like my cat Flurry’s ears. Wendie dipped the eggs in pink egg dye to create the mouths by holding the bottom third of the egg still in the dye for a few minutes. She did a really good job as the lines are so even! Any uneven parts of the lines became the egg backs. After the eggs dried, we used the wooden applicator stick to transfer the eyes onto the eggs. The horns were flat stickers and had to be rolled into a cone shape then adhered to the top of the egg. I was impressed with how sticky the adhesive was. None of the horns fell off and you can actually pick the eggs up by the horns. Ears were then stuck on and paper flowers were used to cover up the adhesive tabs from the horns. I love how they turned out! I think this might be my favorite egg decorating kit ever!


While Wendie dyed the unicorn eggs, I worked on dyeing the galaxy eggs. The dyes for the Galaxy Egg Decorating Kit were unique as they consisted of two concentrated blue and purple egg dyes in little dropper packets. Two plastic bags were included, one for each dye. I placed the egg inside the first bag, added two to three drops of blue dye directly onto the egg, and then closed the bag and rubbed the outside of the bag gently with both hands to partially cover the egg with blue dye. Next the egg was placed in the other bag and the process was repeated, using purple dye this time. My hands got very messy taking the eggs out of the bags because the dyes are so dark! But I love how they turned out! Such a neat space sky! Also included in the kit were rub on transfers of galaxies, gold star clusters, and white stars. I cut apart the rub ons and transferred them onto the eggs with the wooden applicator stick. Again, this is one of my favorite kits I’ve ever done!


Next up were striped eggs, made using the new Eggmazing egg decorator, and these turned out to the fastest and easiest egg decorating project ever. You don’t have to dye the eggs and wait for them to dry, which is a huge time saver. You just use plain white hardboiled eggs. The inventor of this product was on Shark Tank this year. Eggmazing is a little spinner that runs on AA batteries. You place the egg in the egg-shaped opening, switch it on, and touch the markers that are included lightly to the surface of the egg. To create the thicker stripes, I gradually moved the marker over as it spun. The eight included markers are neat because they are permanent and dry quickly, and also non-toxic so you can eat the eggs. After awhile the rollers get dirty from all the marker color, but they were easy to clean with paper towel and rubbing alcohol. I cleaned them a couple of times so they didn’t streak the white eggs.


My last egg decorating project was the Easter Under the Sea Egg Decorating Kit by Spritz. This kit was similar to others I’ve done in the past, so it was a good one to do last, after a full day of cooking, dyeing and decorating almost four dozen eggs. The eggs were dyed in the traditional manner using dye tablets dissolved in vinegar and water. Then the cute little characters were created using the printed paper punch out shapes, paper stands, and foam stickers included in the kit, using the box’s photo as a guide. The kit also included a cute little beach scene stand complete with a palm tree at the center. The mermaids and clam are my favorite characters in this kit.


I’d love to hear your Easter egg dyeing and decorating stories past or present, and any decorating tips or recommendations in the comments below. I hope you’re having the best Easter this year!
Related Posts

Easter Eggs Like Gnome Other
Spring is in full swing and Easter is already upon us! Every year I look…
01 April, 2018
Fit to be Dyed: Easter Egg Decorating Fun at Home
Decorating Easter eggs turned out to be the perfect stay-at-home Easter activity for…
01 April, 2018
Marilee | 5th Apr 18
All your Easter eggs turned out awesome. Love the Uicorn and Mermaid set. Dad liked the space Galaxy ones. They are so unique!!! I happened to be a the lucky recipient of some of your adorable decorated eggs! Thank you! They are tasty too! 🦄 🌴 🌎
Wendie | 11th Apr 18
Those unicorn eggs, man. I loved those so much! The galaxy eggs were so cool! I’m super impressed with how those turned out. I had so much fun decorating eggs with you! Let’s do it again next year! I want to try alcohol inks!