Easter Eggs Like Gnome Other

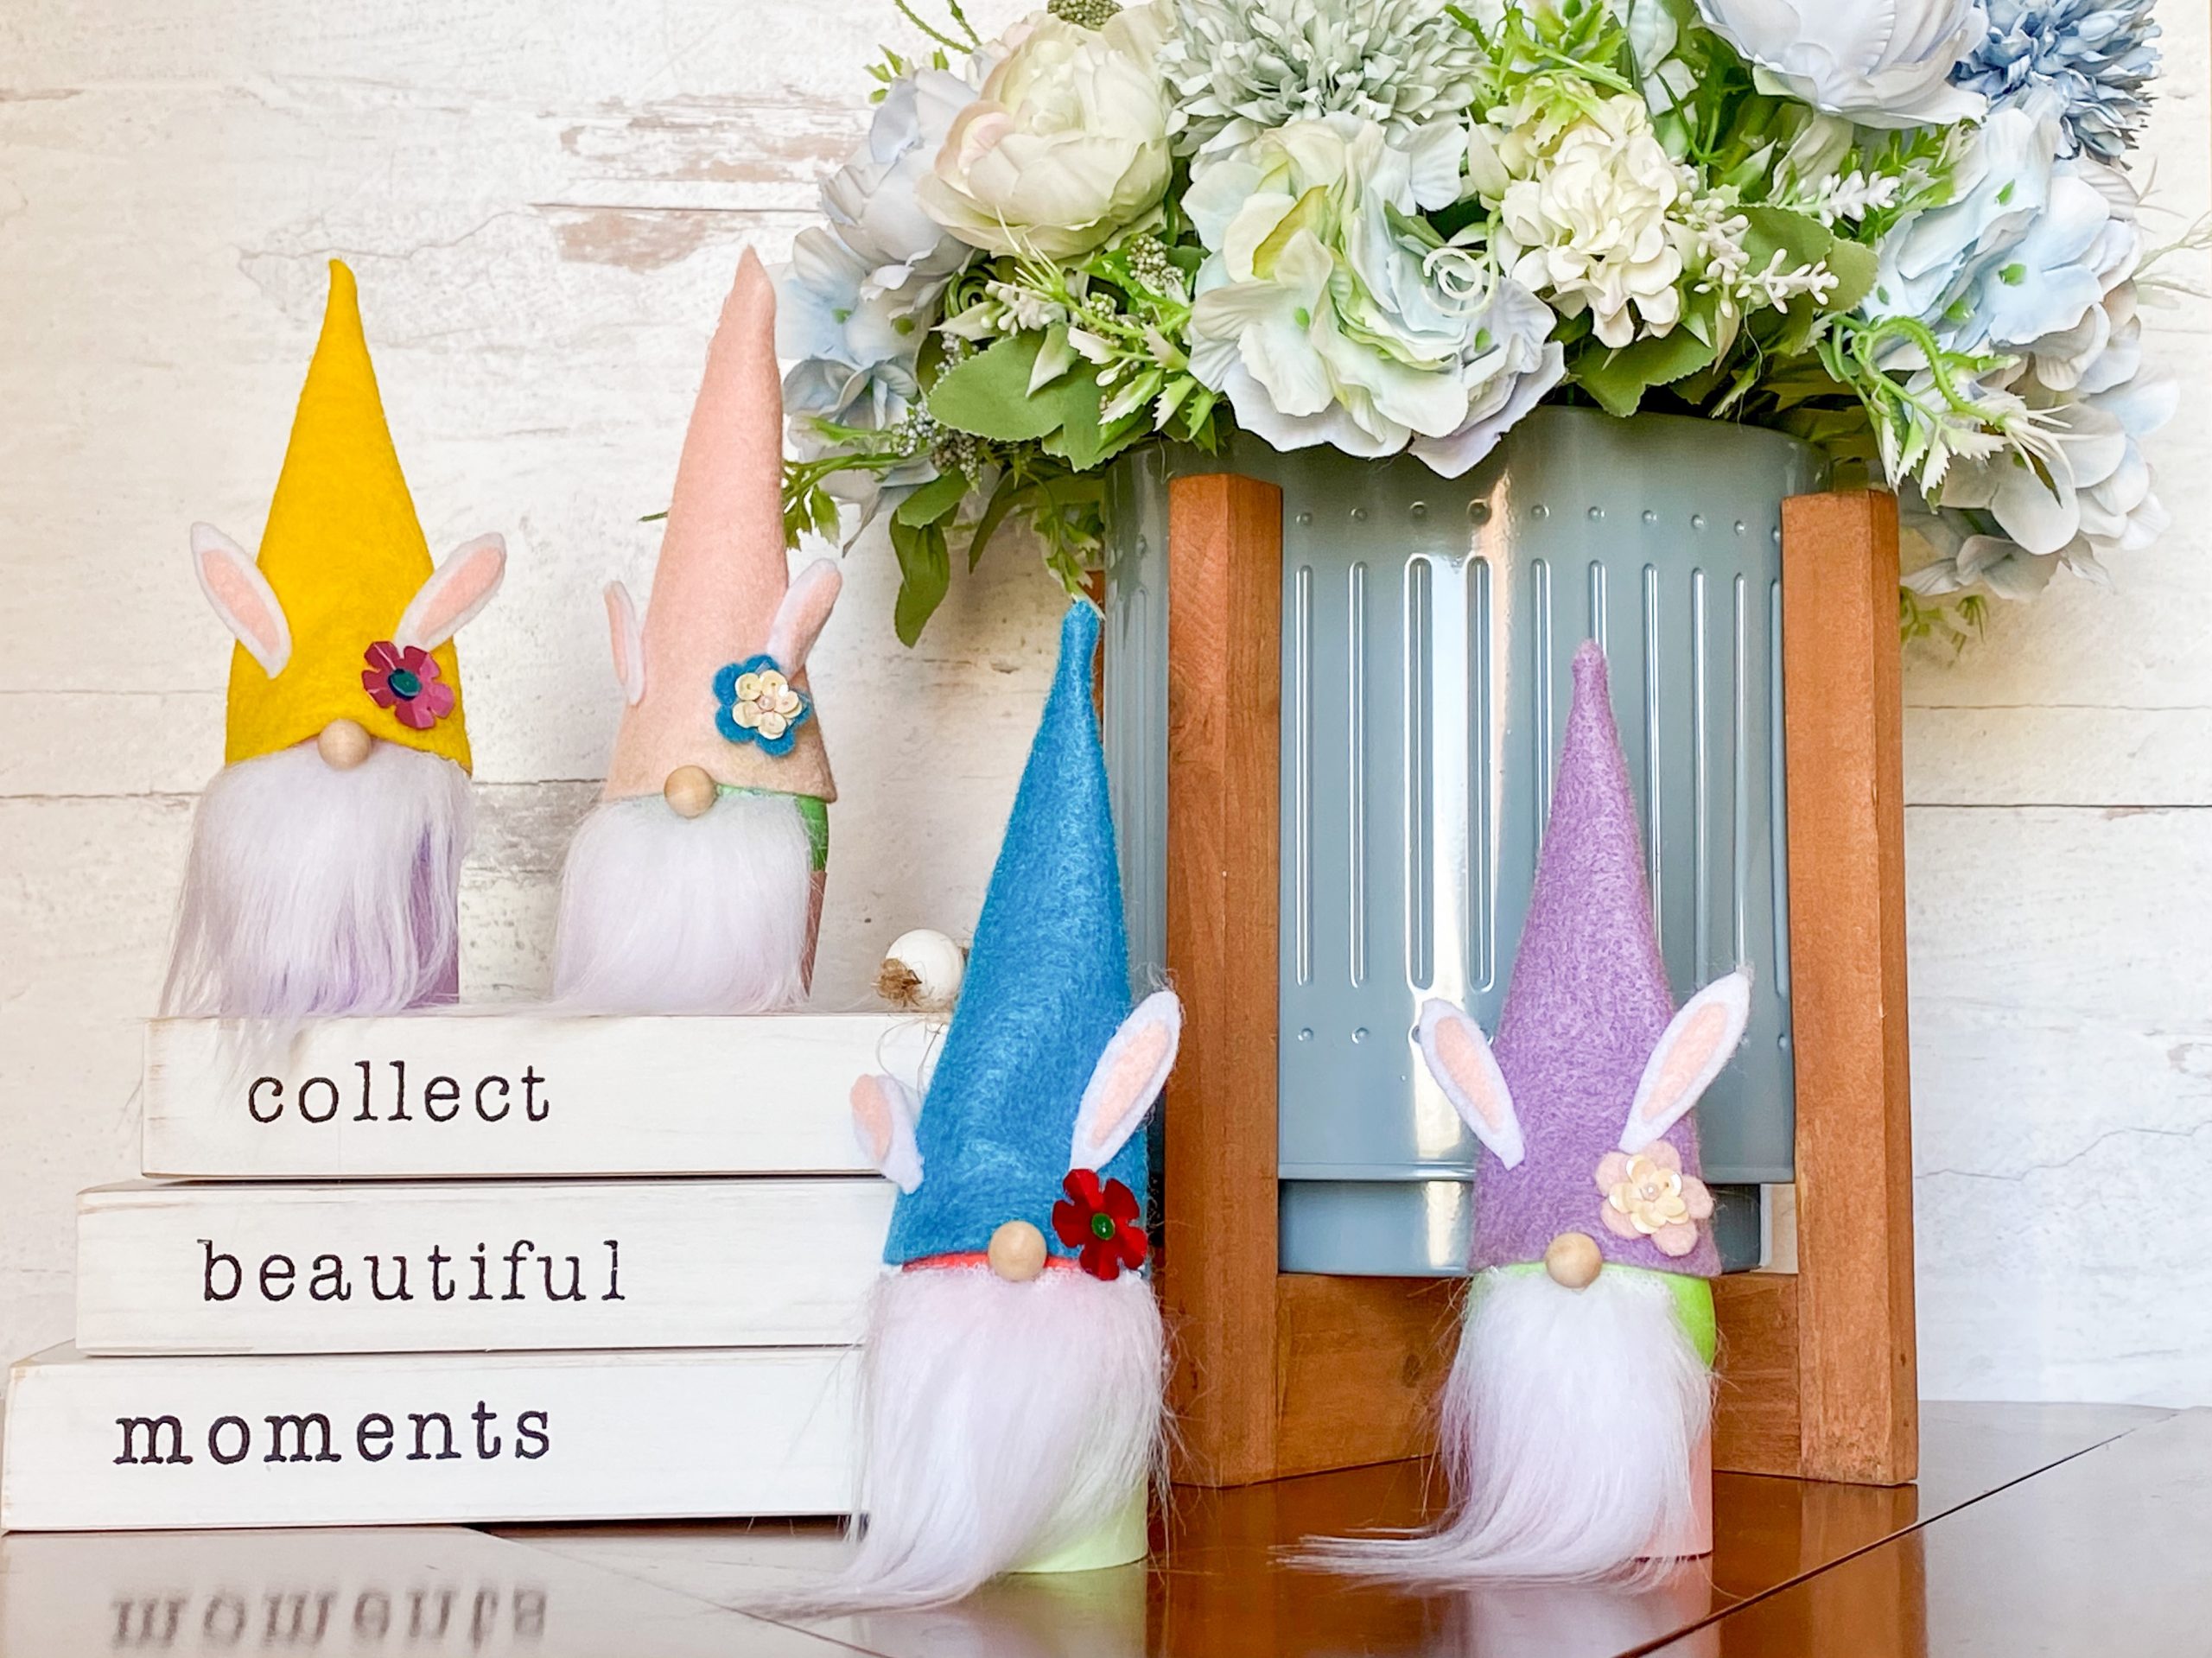
Spring is in full swing and Easter is already upon us! Every year I look forward to carrying on the tradition I’ve shared with my mom since I was little to dye and decorate Easter eggs. Yesterday we colored and decorated four dozen eggs, and both agreed our favorite eggs are the gnomes! We used the handmade DIY Easter Egg Gnome Kit from Broken Sparrow Studio to make eight adorable gnomes. Making these Easter egg gnomes has been our favorite creative activity we’ve done together during the pandemic. I’m already thinking about buying another kit for next year!
The gnome kit was packaged so adorably and included everything you needed to make the gnomes besides glue: felt pieces to make the hats and bunny ears, little round wooden balls for noses, faux fur beards, cardstock strips to make stands, hat decorations, and plastic eggs in case you wanted to make a more permanent decoration to enjoy year after year. (We used dyed hardboiled eggs instead.) The little wispy beards and flair to decorate the hats were our favorite kit components. A variety of felt shapes and sequins are included for creative decorating of their pointy little hats, with lots of extra pieces included so you can pick your very favorite accents to use. Because all the pieces were pre-cut, making the gnomes was fast and easy. I thought they would take longer than they did!

The first step was to use a tape runner to adhere the ends of the cardstock strips together, forming ring shapes to make egg stands for the gnomes. To start each gnome, we glued the beard to the egg about 1/3 way down from the narrow top of the egg. We used Aleene’s Original Tacky Glue, which worked really well for this project. Next we glued the wood noses on to the egg in the center of the top of the beard. For the hat, we put glue along one end and rolled the felt piece into a cone shape, overlapping the edges about an inch and holding it in place until the glue started to dry. We put a line of glue all around the egg just above the beard, then sat the hat down onto the egg, pushing it down to meet the beard. The pink centers were then glued to the white bunny ears, and the bottom of the ears glued to either side of the hat. The hat decorations were really fun to do. We made each accent a little different with the included felt star, heart, and flower felt shapes, and shiny sequins. So easy! They’re gnome adorable, wouldn’t you agree?


Before we started decorating all the eggs, we dyed them using Paas dye. We think Paas colors are the brightest and most reliable dyes, so we use them every year. I love the kit that comes with nine different color tablets. We buy an extra kit with the standard six colors so that the process goes faster – and in case any of the other colors turn out to be duds. It’s always good to have a backup! We found pink, orange and yellow took the longest for the color to set, so we made extra batches of those colors using the second kit. The egg dye cups that we bought several years ago are so handy and make it easy to clean up when you’re done.


We decorated several eggs using rub ons from the Meri Meri Egg Decorating Tattoo Set. Most of them were light pastel translucent colors though, so they didn’t show up too well on the brightly colored eggs. I saved several of those for later; I think I’ll try some of them on white eggs next year. The shimmery gold foil tattoos looked the best! I wish there were more of the gold tattoos included in the kit; we used all of them. Applying the designs was very easy. Using a damp paper towel, I pressed the back side of the rub on until the image transferred, then smoothed out any wrinkles with my finger. I thought the wet towel might make the color run a bit on the egg but it didn’t. I love the modern look of the gold Easter icons.

Next we used the Spring Buddies Easter Egg Decorating Kit from Spritz, found at Target, to make six bunny eggs. After the gorgeous gnome kit, this kit was a bit of a letdown! The rub on facial features were really hard to transfer, and the self-stick ears weren’t very sticky. We weren’t impressed! The bunnies were cute in theory but I wouldn’t buy this kit again. The Spritz Easter egg kits we used in past years were a lot nicer quality.


To finish out our egg decorating session, we used a lot of stickers, ribbons, trims, gems, and other embellishments from our Easter grab bag of egg decor we pull out year after year. I made our usual personalized Mom, Dad, and Denise eggs, and this year Ellery gets one too. We used what we already had on hand, but the Paas kit did come with some adorable new stickers – spring animals wearing flower crowns!


Here’s the whole crop of this year’s eggs! Whew! What a fun, crafty Good Friday it was! Have a Happy Easter!


Related
Related Posts
Fit to be Dyed: Easter Egg Decorating Fun at Home
Decorating Easter eggs turned out to be the perfect stay-at-home Easter activity for…
Related
From Cute Critters to Flashy Foil: Easy Easter Egg Decorating Ideas
Happy Spring! Today I’m sharing my Easter eggs I made this year in…


Megan | 4th Apr 21
Thanks for sharing your tradition Denise! That is such a fun activity you so with your Mom. The eggs turned out great and I love the gnomes.
Marilee | 8th Apr 21
The gnome egg decorating kit was so fun and they turned out too cute to eat! The gold foil rub-ons were pretty and gave the eggs an elegant look. We do really enjoy our tradition of decorating eggs each Easter. 🐇