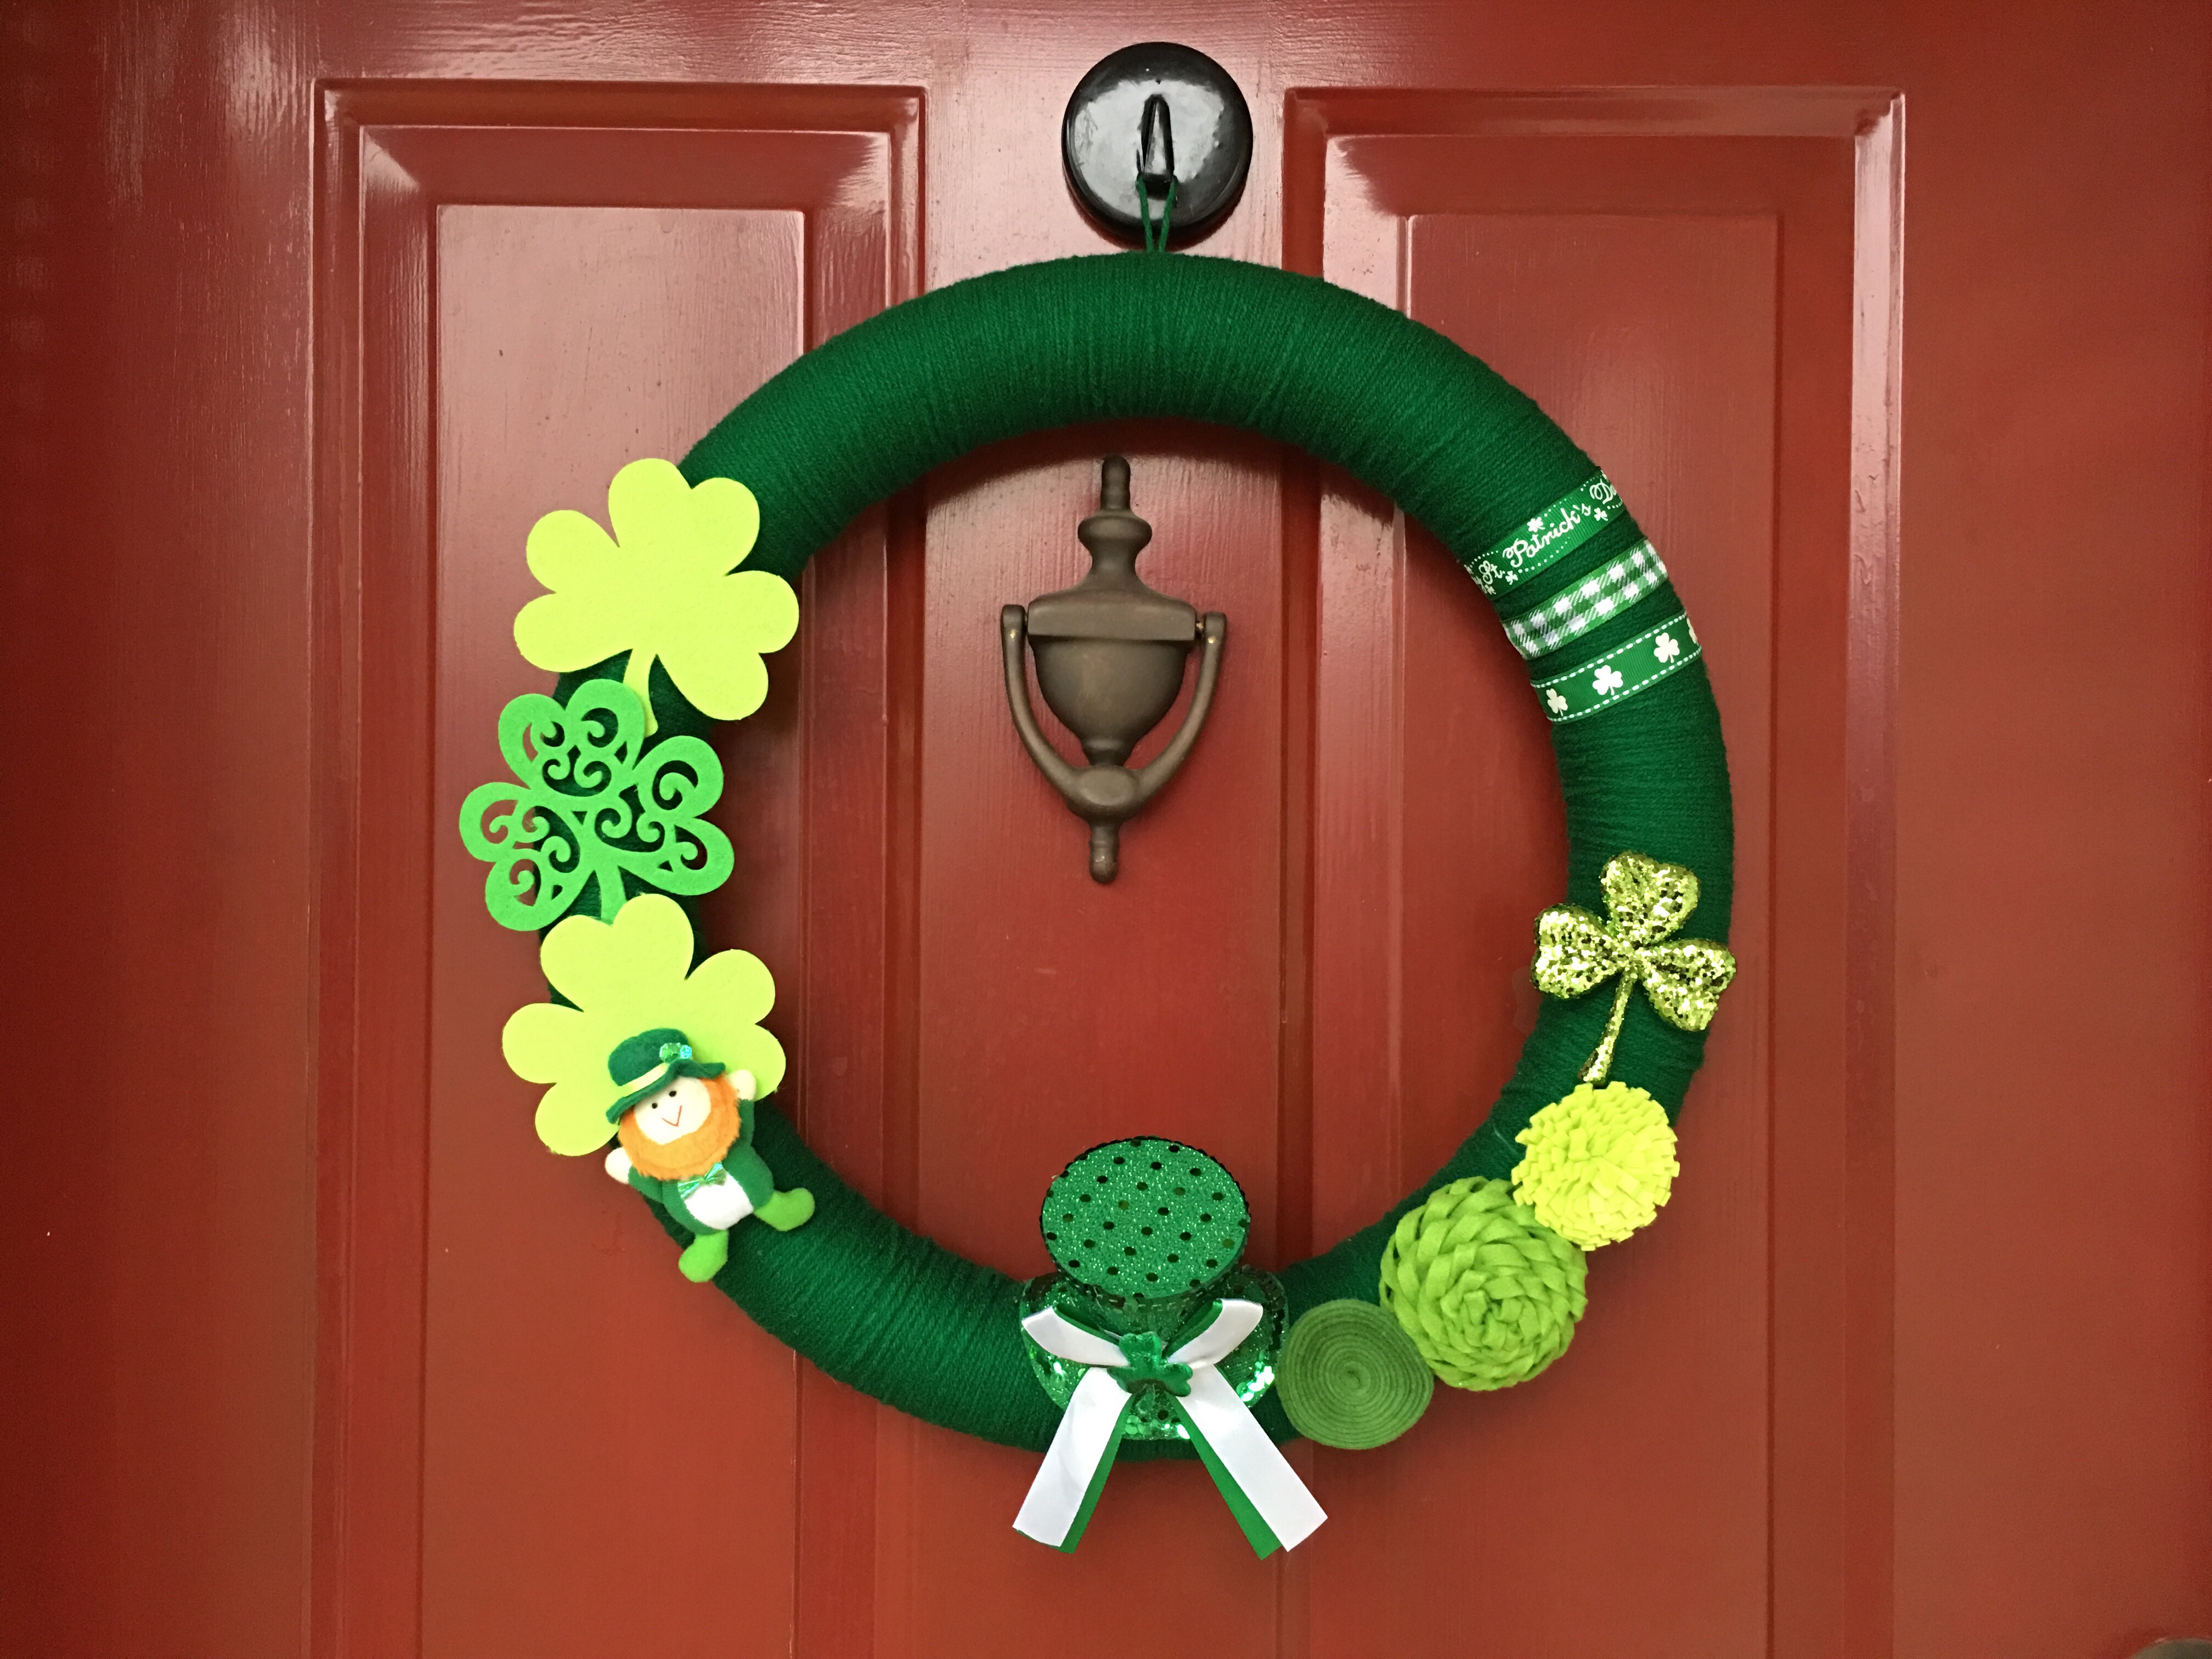
Luck o’ the Irish Yarn Wreath
A few years ago, I saw this wreath on Pinterest and was inspired to make a wreath like it. I then searched for and found a great yarn wreath making tutorial on Pinterest. I was so happy with how my wreath turned out, that I started making yarn wreaths for other seasons and holidays, and now I have a collection of them to change out with the seasons and enjoy all year long on my front door. Yarn wreath making can become addictive because the wreaths are so easy and fun to make. Wrapping the wreath with yarn does take a while, though, so I recommend blocking off a few hours of free time so you don’t feel rushed, and making them with a friend, because they provide a good opportunity to chat and catch up while you make them. The wreaths are not something you can churn out quickly – or cheaply, because the cost of the materials does add up. I try to buy most of the materials from Michael’s and JoAnn’s when they have 30% off entire purchase coupons or other good sales or coupons. You’ll also want to pick a relatively warm day that’s not windy, and most importantly with no rain or snow in the forecast, since you’ll use a lot of spray adhesive. Such forecasts can be a rarity in Indiana, so I always plan my yarn wreath making day with the forecast in mind. I always go outside to spray projects when working with spray adhesive, because it can get everywhere – including your hands, which you’ll want to wash frequently. Wet Ones are also good to have on hand to wipe any stubborn traces of gummy adhesive off your skin and fingernails.
Last year Mom expressed interest in making a St. Patrick’s Day yarn wreath for her front door, and I promised her we’d create them this year. We hadn’t made wreaths in a while, so it was a fun February craft project! I bought all of the supplies on sale and used some existing St. Patrick’s Day decorations too!
Supplies:
- Styrofoam wreath, found in the floral foam section at craft stores. I used a 15.8” white Styrofoam wreath to make a large wreath for my door, but you can use smaller sizes, which also can be wrapped with yarn quicker than the large wreath.
- A skein of yarn in the wreath color of your choice. Consider also the color of your embellishments to make sure they’ll coordinate and contrast with the color you have in mind for the yarn. You can also use more than one color of yarn like I did for my Fourth of July wreath. I like to buy the majority of my materials at one time, so I can walk around the craft store and see what will work best, estimating the placement, colors, and sizes of embellishments. For this wreath I used Red Heart Super Saver yarn in Paddy Green, because it’s just the perfect emerald green color for St. Patrick’s Day. I debated between three shades of green and almost chose Spring Green, which would work well with darker green embellishments, but wouldn’t be a true Irish green.
- Embellishments such as fabric or felt flowers, seasonal accents, and ribbon. Among my St. Patrick’s Day decorations, I already had the glittery shamrock pick, ribbons, and small felt leprechaun. I bought the felt shamrock shapes, felt flowers, and hat (which I removed from a headband) at JoAnn’s.
- Elmer’s Multi-Purpose Spray Adhesive.
- Glue gun and hot glue sticks.
Directions:
I learned how to make yarn wreaths from A Million Moments and highly recommend her tutorial. Start by tying your yarn around the wreath in a knot and spraying the knotted strand of yarn with the adhesive to secure it in place. Then start wrapping the wreath’s Styrofoam form tightly with yarn. I only wrap my wreath twice with yarn, and not three times as listed in the linked tutorial. When you begin, choose a front side for your wreath, and work with the front side facing you to keep the appearance of the yarn smooth and even on that side. You don’t need to worry about what the back looks like, including any gaps or lumps in the yarn. I space my yarn wrapping pretty close together, so the second wrap is just to fill in the gaps and it goes a lot quicker than the first wrap. Spray about a 4-inch section of the foam on the back side of the wreath at a time, then wrap that section with yarn, spray the next section of the foam wreath, wrap, and so on. The adhesive will stay sticky on the smooth foam surface until it’s wrapped with yarn, so you don’t need to worry about working quickly before it dries. On your second round of wrapping, you are spraying the yarn-covered sections on the back side of the wreath. Don’t worry about the yarn getting sticky, because the yarn will absorb any excess adhesive quickly after you wrap it with yarn.
When you have completely covered your wreath with yarn and are happy with how it looks, lay it face down with the back side up and let the adhesive set and dry for several minutes.


Now comes the faster, fun part – decorating your wreath! Plug in and heat up your glue gun while you gather your embellishments and plan their placement on the wreath. I like to lay everything out on the front of my wreath first to see how it will look before I start gluing. Then start hot gluing all the decorations to the wreath. You will want to use a lot of glue, especially if the wreath will be hanging on your front door and subjected to a lot of sun and heat. I have a storm door and the glass traps so much heat when the morning sun hits my door directly. Sometimes, in the summer especially, the glue melts in the heat and one or two embellishments fall off, and I have to fix my wreath by hot gluing items back on. And I have noticed some colors of yarn fade after many months of sun exposure. They hold up really well though considering!
Click here to see all of my yarn wreaths I’ve made!
Have you ever made wreaths? I’d love to hear about what kind and how you made them in the comments!


Related Posts

Fit to be Dyed: Easter Egg Decorating Fun at Home
Decorating Easter eggs turned out to be the perfect stay-at-home Easter activity for…
02 March, 2018
A Fairy Fun St. Patrick’s Day Display
March roared in like a lion, with snow and cold temperatures, but I’m…
02 March, 2018
Marilee | 2nd Mar 18
These yarn wreaths are really fun to make, but do take an afternoon. I enjoy making them with you. You are so creative! Happy St. Patrick’s Day!
Love, your Irish Mom ☘️
Denise Breimeir | 3rd Mar 18
Your St. Patrick’s Day wreath turned out beautifully! You did a great job wrapping your yarn so evenly just one time around. It looks so professional! Thanks for making wreaths with me.