Snow Buddies: Fast & Easy Creations Made from Snow
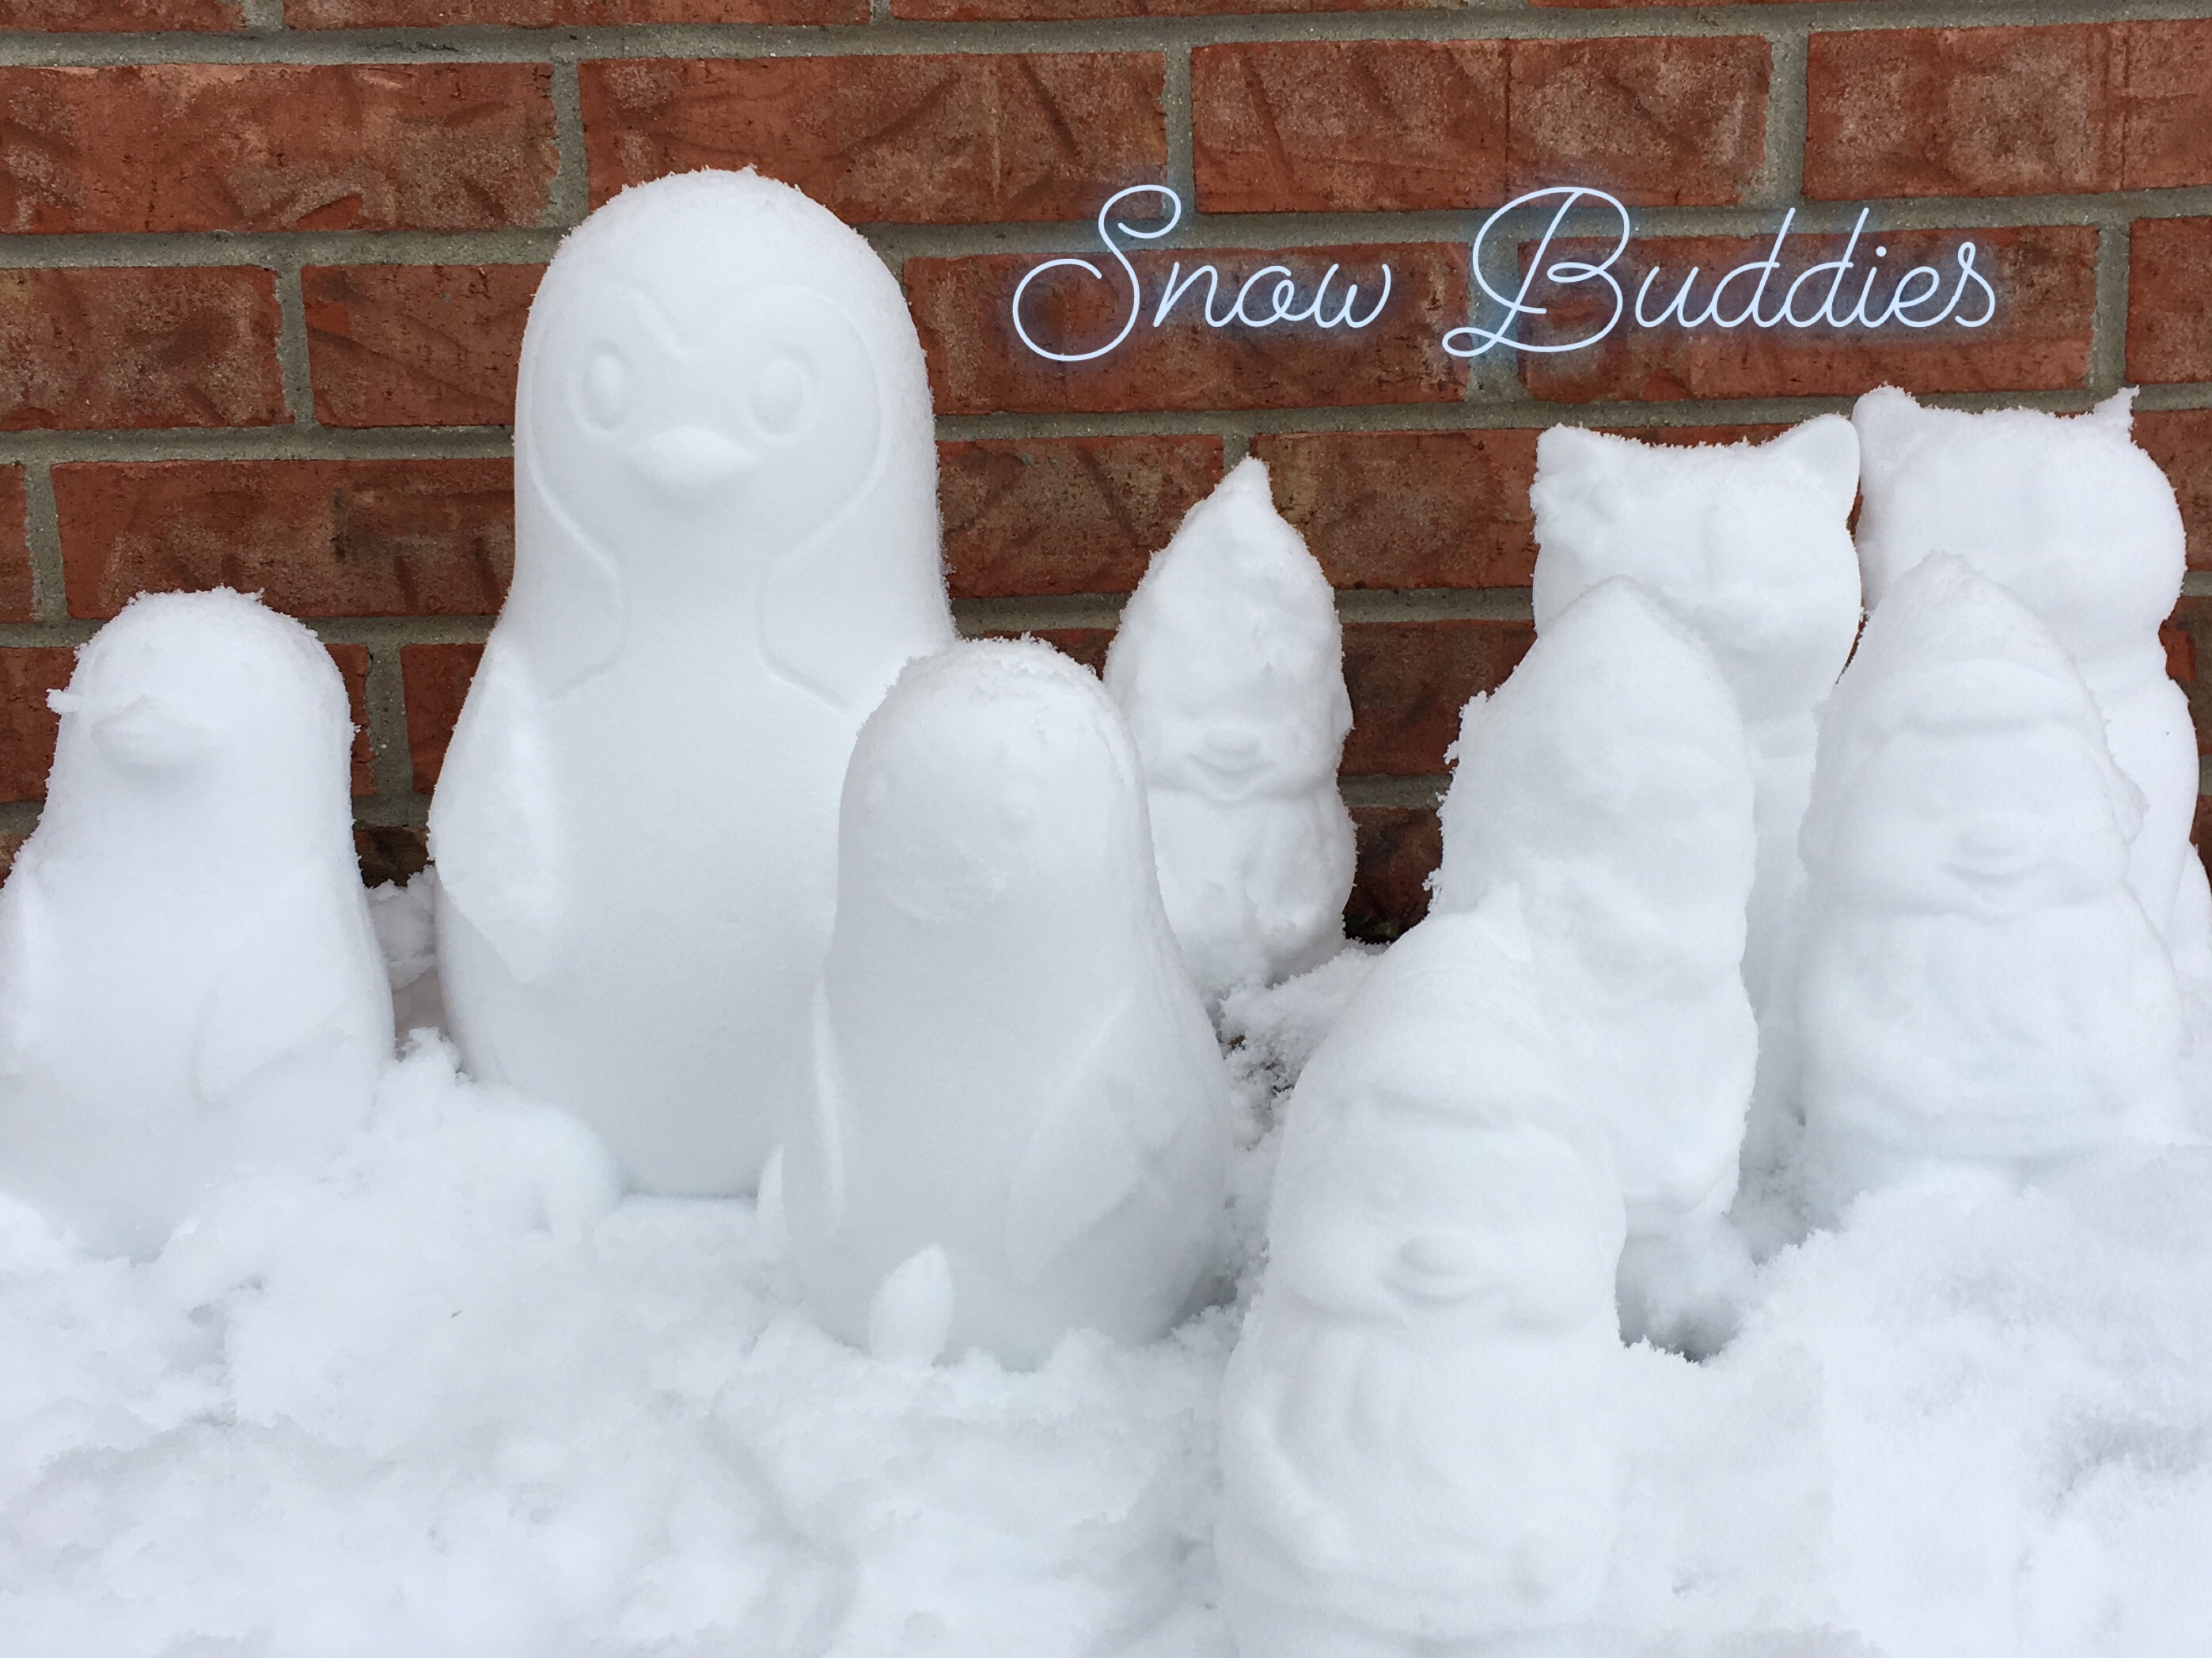
I saw special markers used to color snow on Facebook recently. I had no idea such a thing existed so I looked them up on Amazon out of curiosity. I really had no desire to color snow but it got me thinking there might be other cool toys or gadgets out there that would be fun to play with in the snow. While searching, I stumbled across some snow molds that caught my attention, especially a gnome mold which was included in a set of five characters. They reminded me of the brick maker molds I used to build snow forts with when I was a kid, only cuter and more interesting. When I heard we were finally supposed to get a lot of snow, I ordered a penguin mold that is 11 inches tall and a set of five smaller molds that are each a little over 7 inches tall. They can also double as beach toys and be used to make shapes with wet sand.


The molds are easy to use, but I learned some helpful tips and tricks along the way that I thought I would share so you don’t make the mistakes that I did. Note the directions for the large penguin on the Amazon product listing page are misleading since you don’t assemble the two halves after they’re filled with snow (the printed instructions included with the mold are right), and the set of five molds doesn’t come with any instructions at all. So I’m including complete instructions to ease your (or your kids’) frustration. The set of five molds says you will get “random characters” but I did receive exactly what was shown in the picture. (I was going to be heartbroken if I didn’t get the gnome.)
The large penguin mold is the nicest quality and the easiest to use of all the molds, although it does require the most snow because of its size. With eight inches of snow on the ground, I had no shortage of snow to work with!

Supplies
- A lot of wet, heavy packing snow, such as you’d need to build a snowman
- Penguin snow mold
- Gnome, small penguin, cat, snowman, and teddy bear molds (set of five)
- Old thick winter gloves to protect your hands
- Hot chocolate to warm up with afterwards!

Instructions
- Put the front and back halves of the mold together with the slider on each side in the down position at the bottom of the mold. Press the halves together, then push both sliders up to lock.
- Grab the handle at the top and scoop snow from the ground into the cavity of the mold. Use your other hand to pack the snow tightly into every corner of the mold. Scoop more snow from the ground, pack the snow and repeat until the mold is full. As the mold gets full, hold the bottom edges of the mold together so they don’t separate.
- Flip the mold right side up and set it on the ground. Push both sliders down to unlock the mold.
- Pull the halves gently part to reveal your snow buddy!

Tips
- Wear thick old gloves. The sliders are hard on your hands, as they don’t always slide up and down easily. They catch at the seams, and if snow becomes stuck in the rails they won’t slide as readily. They also can fall off and they’re tough to put back on the rails. The gloves will also protect your hands rom the bottom edges of the molds as you’re packing the snow tightly inside – and from the cold of course! I tore up an old pair of gloves that were too thin making my snow buddies, and cut my finger on the molds, so I’d definitely use thicker gloves next time.
- Store your molds inside the house. They work best when they’re warm and you first take them outdoors. That way your snow creation won’t stick to the inside and will come right out of the mold when you release it.
- You can either set the mold down on the ground in the exact spot you want the snow character to sit in, or you can release the mold on concrete and then carefully pick the character up and transfer it if the snow is packed really well and it’s cold enough outside that it won’t melt in your hands. It’s easiest to release the mold on a hard surface like concrete, but moving your snow buddies can be tricky if you accidently wipe away the details of their faces with your hands or they fall apart.

I made twelve of these little cuties really quickly. You can churn out an army of snow buddies in the time it takes to make one snowman. Speaking of snowmen, I couldn’t get the little snowman mold to work, even though it looked really simple. The heads kept coming off and the snow stuck to the inside of the mold. The cats’ ears and paws were a little tricky too and kept breaking off, but I still think they turned out cute. The gnome and penguin molds had the highest success rate! I was thrilled of course that the gnomes turned out so well! I didn’t try the teddy bear mold because I’m going to send it to my friend’s daughter for her Groundhog Day birthday. I think she’ll get a lot of use out of it in snowy South Dakota!

If you want to get really creative or if you have kids, you might want to get a set of snow markers to really add some artistic flair to your snow friends! I haven’t tried the markers so I have no idea how messy they are or if they’re easy to use. Let me know if you’ve tried them! I think they would really add some pretty color and definition to the shapes.

I found making the snow buddies very therapeutic and relaxing, almost like crafting. It was fun to do something active outside, and according to my FitBit, I burned a lot of calories. Let me know in the comments what you’re up to this winter! I’m not a big fan of cold weather or January, so anything that can bring a little cheer to winter is welcome.

Related Posts

Frosty Fun with Frozen Bubbles
Brr… it’s cold out! Here in central Indiana, we’re feeling the…
17 January, 2019
Marilee | 17th Jan 19
Your Snow Buddies are adorable! We are never too old to play in the snow! ❄️⛄️❄️
Megan | 27th Jan 19
I love the snow buddies, especially the gnome! Thanks for sharing your winter fun!
Wendie | 5th Feb 19
You have had the funnest snow “crafts” this winter, Denise! I love these snow critters!