Add a Natural Twist to Your Fall and Thanksgiving Decor with Easy DIY Burlap and Raffia Pumpkins
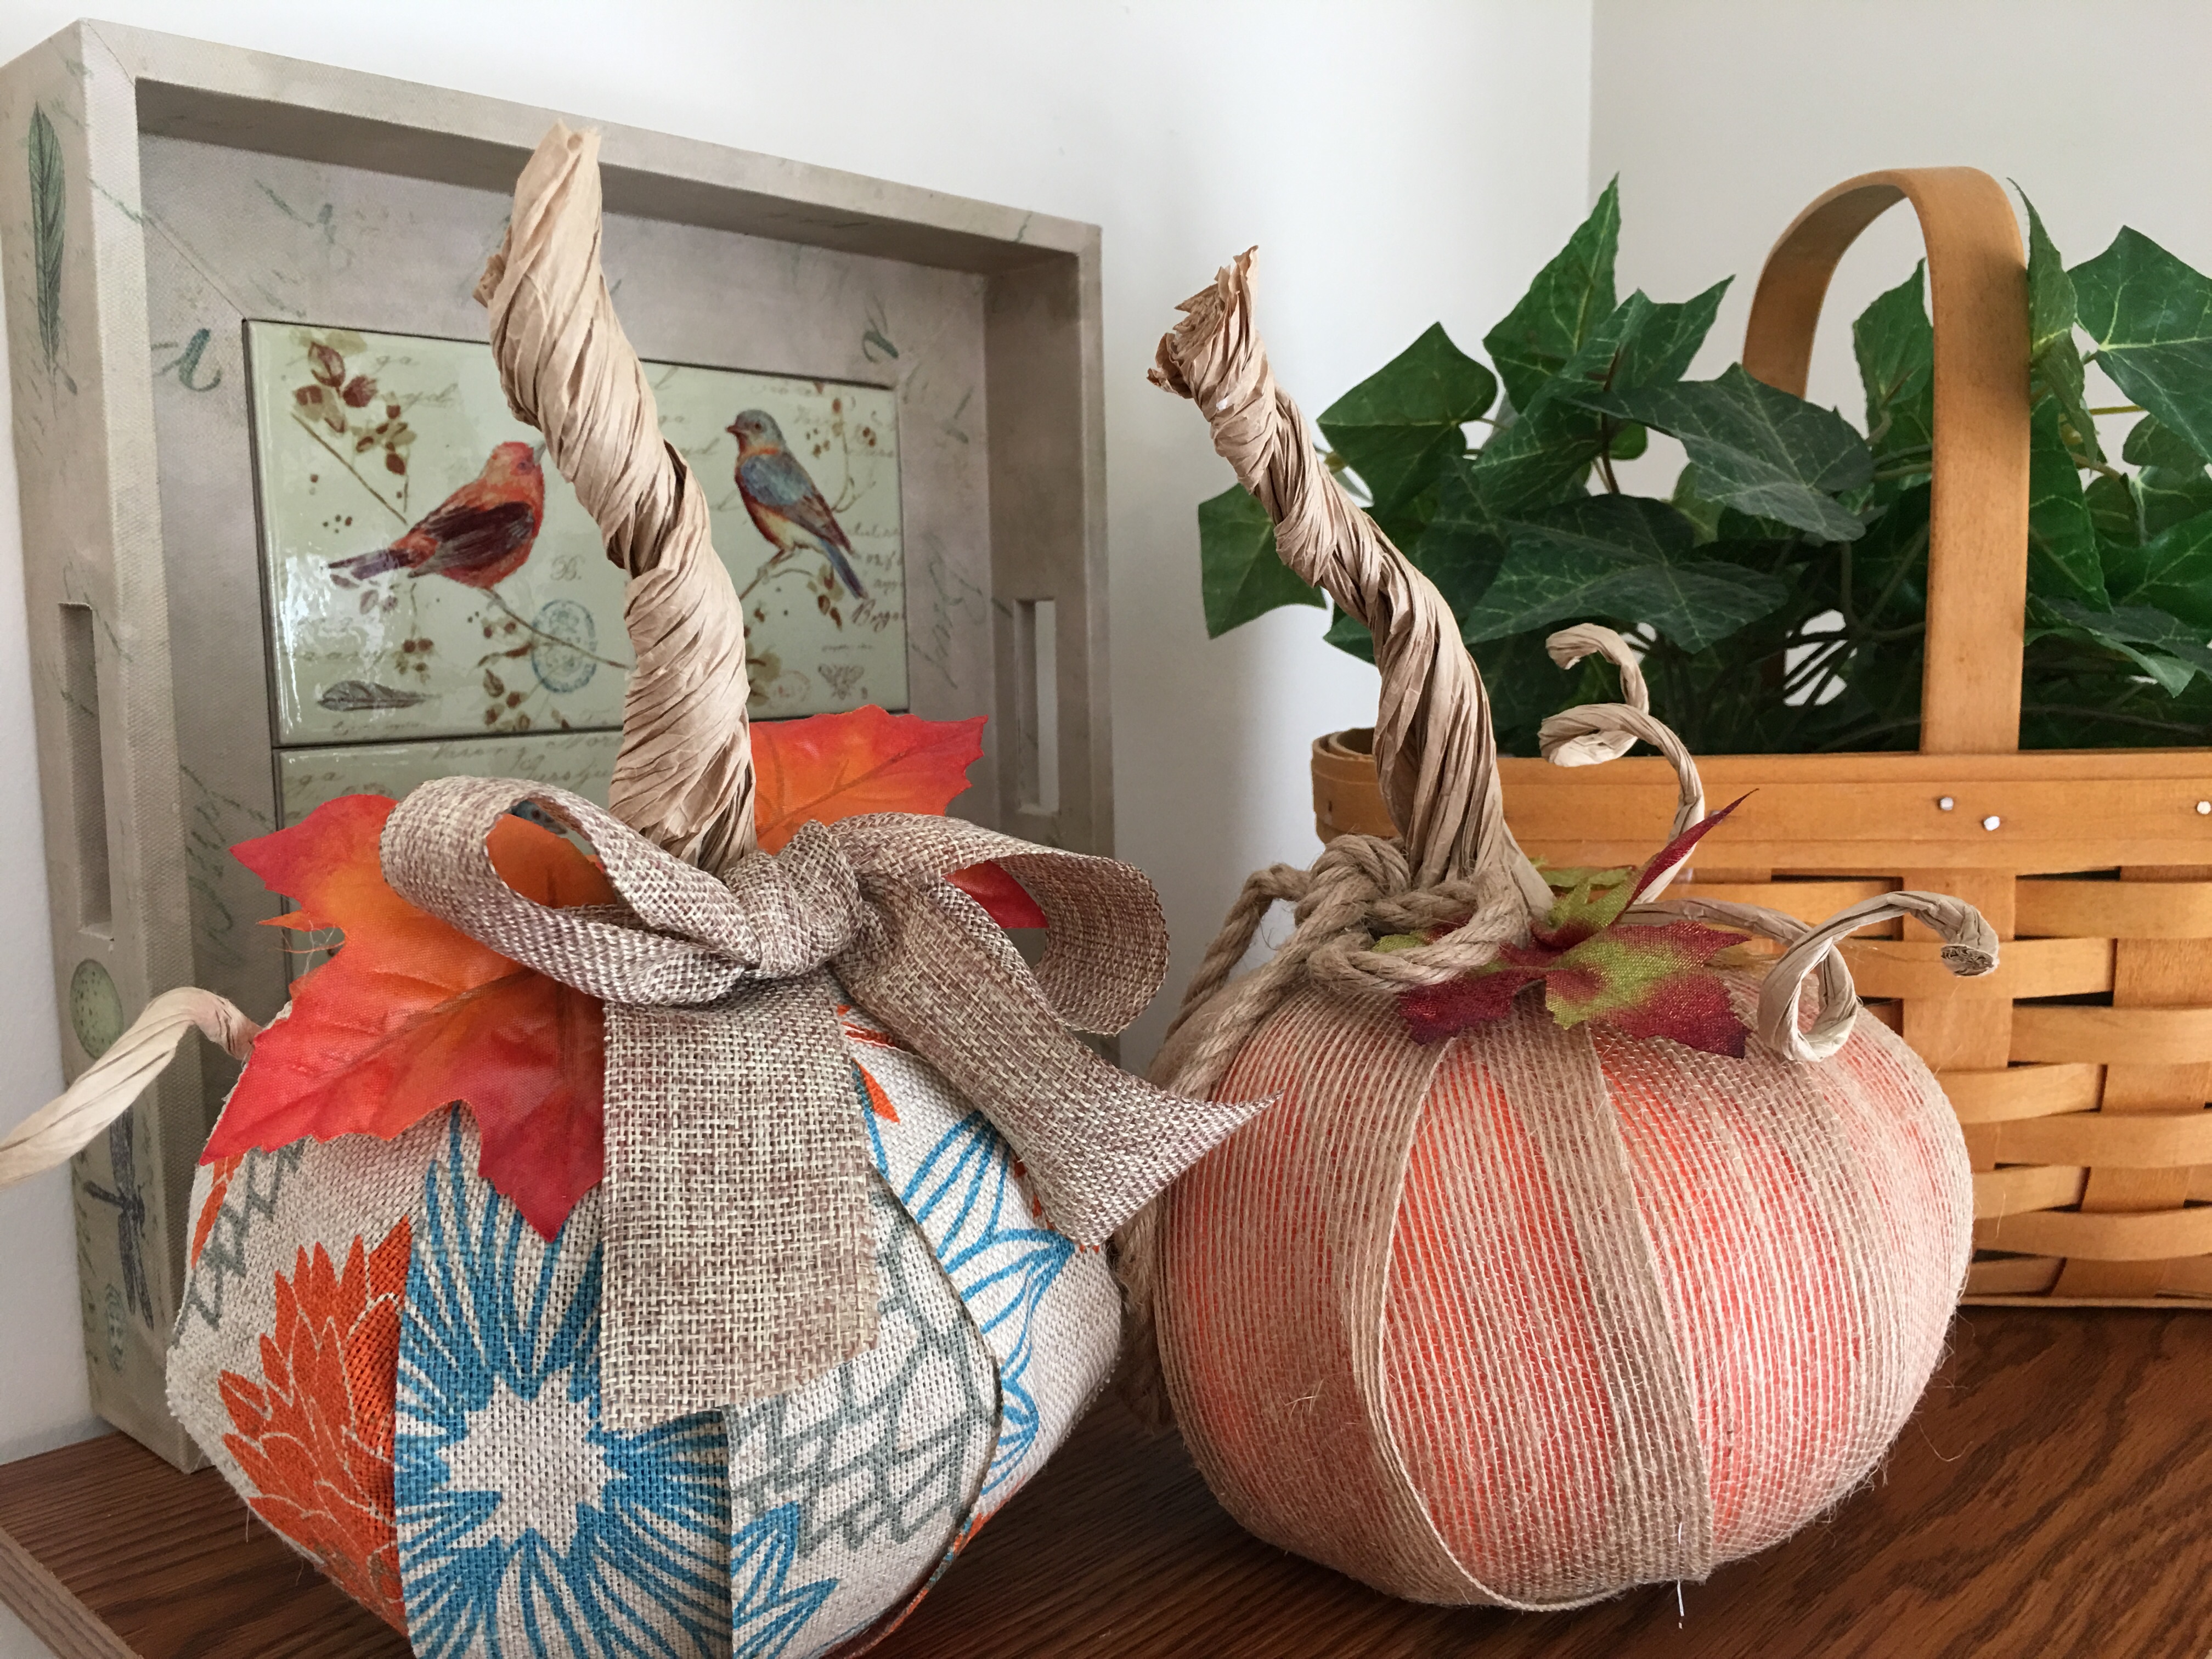
Today’s fall craft tutorial is brought to you courtesy of my crafty Mom. She showed me the two pretty pumpkins pictured above she had made and I was wowed by how she had turned a simple foam pumpkin from the dollar store into a beautiful fall decoration, using mostly supplies she already had on hand. I told her she’d have to show me how to make one, so we set up a mother-daughter craft day last weekend to make her third pumpkin and my first. These are really fun to make (as long as you are careful with the hot gun! I burned my finger despite her warnings) and I can see making more pumpkins in the future. This is the perfect last minute fall craft to create a pretty centerpiece for your Thanksgiving table!

Supplies:
- Natural twisted paper, 4 1/2 inch X 25 yards (raffia)
- Burlap strips or burlap ribbon, at least 2 inches wide
- Foam pumpkin
- Decorative fall accents such as ribbon, leaves, and jute rope
- Popsicle sticks
- Glue gun and glue sticks
- Scissors

Instructions:
- The raffia comes as tightly twisted cord, so first you will need to cut three pieces 10-12 inches in length each, then unwrap it to reveal crinkled, textured paper. The center of the photo above shows what it looks like as purchased (twisted cord) and unwrapped (similar to a corn husk). We bought ours off Amazon. For each unwrapped raffia piece, flatten and smooth out one of the two ends. This will be the end you glue to the pumpkin in the next step.
- Glue the three unwrapped raffia pieces around the stem of the foam pumpkin as shown below. Place the glue on the top of the pumpkin and press the first piece of raffia into the stem using the popsicle stick so you don’t burn your fingers. Repeat for the next two pieces until the raffia surrounds the stem. Let the glue set and cool thoroughly while you work on the next step.


- Cut 10-12 strips of burlap, 8 1/2 inches long and 2 inches wide for a medium foam pumpkin from the dollar store. We used the carvable foam pumpkins from Dollar Tree shown in the photo plus one black glitter pumpkin from the Target dollar spot that was the same size. Each is about 5 inches tall and 6 inches in diameter. Adjust the length and width of the burlap if you are using a larger or smaller pumpkin.

- Gather up the raffia you glued in step 2 around the foam stem of the pumpkin and twist to make a raffia stem. Trim to the desired length.
- Glue the burlap strips you cut in step 3 to the pumpkin, using glue on the top and bottom center of the pumpkin. Pull each strip tight against the pumpkin before you glue the bottom. Overlap each edge with the prior strip, working your way around the pumpkin as shown below. For the last piece, you will need to put some glue along each edge. Use the popsicle stick to press the burlap into the pumpkin after you apply the hot glue each time so you don’t burn your fingers.

- Add decorative fall accents to the top of the pumpkin to finish it. For my pumpkin, I tied an orange pumpkin-patterned burlap ribbon bow and glued it on, and also added three gold leaves. Jute rope makes a nice bow too. We also used pieces of the natural twisted paper cord without unwrapping it, and curled it around our fingers, then glued it to the pumpkin for little fun twists of pumpkin vine.

That’s it! Pretty pumpkins to enjoy for years to come! Sheer burlap with a loose weave looks nice and lets the color of the pumpkin show through, while patterned burlap gives a completely different look. Experiment with what you have on hand or find lots of fun choices at your local craft store.


Related Posts

A Giveaway to Celebrate World Card Making Day!
October 14 UPDATE! We have a winner! Barbara Shreve won the set of three cards…
16 November, 2018
Marilee | 17th Nov 18
It was a fun afternoon crafting our burlap pumpkins! Glad you liked them well enough to blog. It’s really an easy craft for Thanksgiving decor and the dinner table.
Happy Thanksgiving to all! 🦃